How to Achieve an Efficient Telecentric Light Source System
In today’s precision-driven manufacturing landscape, the accurate inspection of small components is more critical than ever. Among these components, small-sized screw threads present unique challenges due to their intricate geometries and reflective surfaces. Properly measuring these features necessitates advanced optical systems capable of delivering precise results. A high-quality telecentric lens combined with a telecentric light source emerges as an effective solution, ensuring minimal distortion and maximizing accuracy during inspections. Specifically, we recommend the Basson 5x Telecentric Lens and the Basson Telecentric Light Source, both designed to meet the demands of high-precision measurement tasks.
When inspecting small-sized screw threads, specific optical requirements must be considered. Due to their reflective nature, screw threads can complicate the measurement process significantly. Traditional lighting methods often result in glare and reflections that distort results, making reliable data collection challenging. Here, the Basson 5x Telecentric Lens proves invaluable. With its high contrast, low telecentricity, and minimal distortion, this lens provides an accurate imaging solution, particularly suited for detecting defects in screw threads.
The Basson 5x lens is engineered to provide exceptional high contrast, significantly enhancing the visibility of even the most minute features. This characteristic is particularly beneficial for inspectors tasked with analyzing intricate components, such as screw threads, where precision is critical. The lens's ability to amplify subtle variations in thread profiles allows inspectors to discern discrepancies that might otherwise go unnoticed. For instance, slight inconsistencies in thread depth can lead to serious functionality issues in mechanical applications. If a thread is too shallow or too deep, it can result in inadequate fastening, potential loosening over time, or even failure under load. Similarly, variations in thread spacing can affect the alignment and overall performance of threaded components. By utilizing the Basson 5x lens, inspectors can reliably identify these potential defects early in the production process, thereby preventing costly errors and ensuring product reliability.
In addition to its high contrast capabilities, the lens also boasts low distortion properties. This attribute is essential for maintaining the true geometry of the screw threads when images are captured. Distortion can often skew the perception of dimensions, leading to incorrect assessments that could compromise quality control. The accuracy provided by the Basson 5x lens ensures that the images reflect the actual conditions of the threads, allowing for precise measurement and analysis. In industries where even the slightest deviations from specifications can lead to functional failures, such as in aerospace or automotive manufacturing, this level of image integrity is vital. Inspectors can confidently rely on the visual data captured by the lens to make informed decisions regarding the acceptability of components. By maintaining a high level of detail and clarity, the Basson 5x lens not only enhances inspection processes but also contributes to the overall quality assurance framework within production environments. The result is a more robust and reliable end product that meets stringent industry standards.
Utilizing a high-quality lens is crucial for accurate measurement of screw threads; however, it alone cannot ensure precise results. An equally important component of an effective optical measurement system is a reliable light source. The interplay between the lens and light source is pivotal, particularly in the context of measuring thread pitch, where the reflective characteristics of the threads can significantly affect the accuracy of the measurement. Inadequate lighting or poorly directed light can lead to unwanted reflections and glare, distorting the image and resulting in misleading measurements. This phenomenon occurs because the intricate geometry of screw threads can create varying angles of reflection, which may obscure the true dimensions of the threads being measured. Therefore, to mitigate these challenges, integrating a specialized light source into the optical system is essential.
The Basson Telecentric Light Source addresses these requirements exceptionally well. It is specifically designed to provide consistent and uniform illumination, which is critical when measuring fine details such as thread pitch. The telecentric design ensures that the light rays remain parallel, reducing the effects of perspective distortion and allowing for more accurate measurements. This consistent illumination minimizes the variations in brightness that can lead to difficulties in interpreting the images captured by the high-quality lens. By utilizing a telecentric light source, the measurement system can achieve a greater depth of field and enhanced contrast, further improving the accuracy of the measurements.
Moreover, the Basson Telecentric Light Source is adept at minimizing issues related to reflection and glare that are common when dealing with shiny metallic surfaces. This is particularly beneficial for screw threads, which often have polished finishes that can exacerbate reflective problems. The light source's design allows it to illuminate the threads effectively without creating hotspots or unwanted reflections, thereby enhancing the visibility of the thread contours. This clarity is vital for precise measurements, as it allows operators to distinguish fine details in the thread profile with greater ease. By integrating the Basson Telecentric Light Source into the optical system, users can achieve a level of measurement accuracy that would be difficult to attain with a lens alone, thereby optimizing the overall performance of the measurement process.
The Basson Telecentric Light Source boasts a telecentricity of less than 0.6 degrees—a critical specification in this context. Low telecentricity helps mitigate the impact of reflective surfaces, allowing for more accurate assessments of screw thread features. When light is emitted in a parallel manner, as it is with a telecentric light source, the likelihood of light scattering and reflections that can compromise measurement accuracy is significantly reduced. This is particularly beneficial when inspecting small, reflective surfaces, enhancing the clarity of images captured by the telecentric lens.
The integration of the Basson 5x Telecentric Lens with the Basson Telecentric Light Source forms a powerful inspection system tailored for measuring screw threads. This combination is designed to streamline the measurement process, significantly enhancing both accuracy and efficiency in inspections. When operators position the screw component under this optical system, they benefit from the uniform illumination provided by the telecentric light source. This even lighting is critical because it ensures that the entire thread profile is illuminated consistently, minimizing the issues of shadows and uneven brightness that can complicate visual analysis.
As the light reflects off the thread surface, the high-quality Basson lens captures the nuances of this reflected light with remarkable precision. The telecentric design of the lens allows for a more stable image, which is essential for analyzing intricate details such as thread pitch, depth, and spacing. The ability to observe minute features without distortion enables operators to conduct a thorough examination of the thread geometry, facilitating the identification of any potential defects or variations that might affect performance.
Furthermore, this combination of lens and light source simplifies the inspection workflow. Inspectors can quickly set up the system, position the component accurately, and start measuring, which drastically reduces the time spent on each inspection. This efficiency is particularly valuable in high-volume production environments where downtime can lead to significant losses. By allowing for quicker assessments without sacrificing accuracy, inspectors are empowered to deliver reliable results rapidly. This not only helps in maintaining quality standards but also contributes to improved productivity on the production floor. The overall impact of this efficient inspection system is profound, as it enables manufacturers to uphold stringent quality control measures while optimizing their operational workflows, ultimately resulting in a more reliable and effective manufacturing process.
Moreover, integrating Basson's Bi-Telecentric Lens into this optical system further enhances measurement capabilities. A common challenge in mechanical vision measurement systems is that while previous test results may be accurate, variations in object placement can introduce significant measurement errors. This issue stems from the unstable imaging capabilities of lenses across the entire field of view (FOV). Distortion becomes more pronounced near the edges of the FOV, while contrast and resolution tend to decrease, leading to inaccuracies in measurements.
By utilizing Basson's Bi-Telecentric Lens, these challenges can be effectively addressed. Each lens undergoes rigorous testing before leaving the factory, ensuring that the distortion rate and telecentricity remain below 0.05. This precision guarantees high uniformity in performance, with sharp, clear imaging maintained even at the edges of the FOV. The ability to consistently capture accurate images across the entire FOV is essential for reliable measurement results.
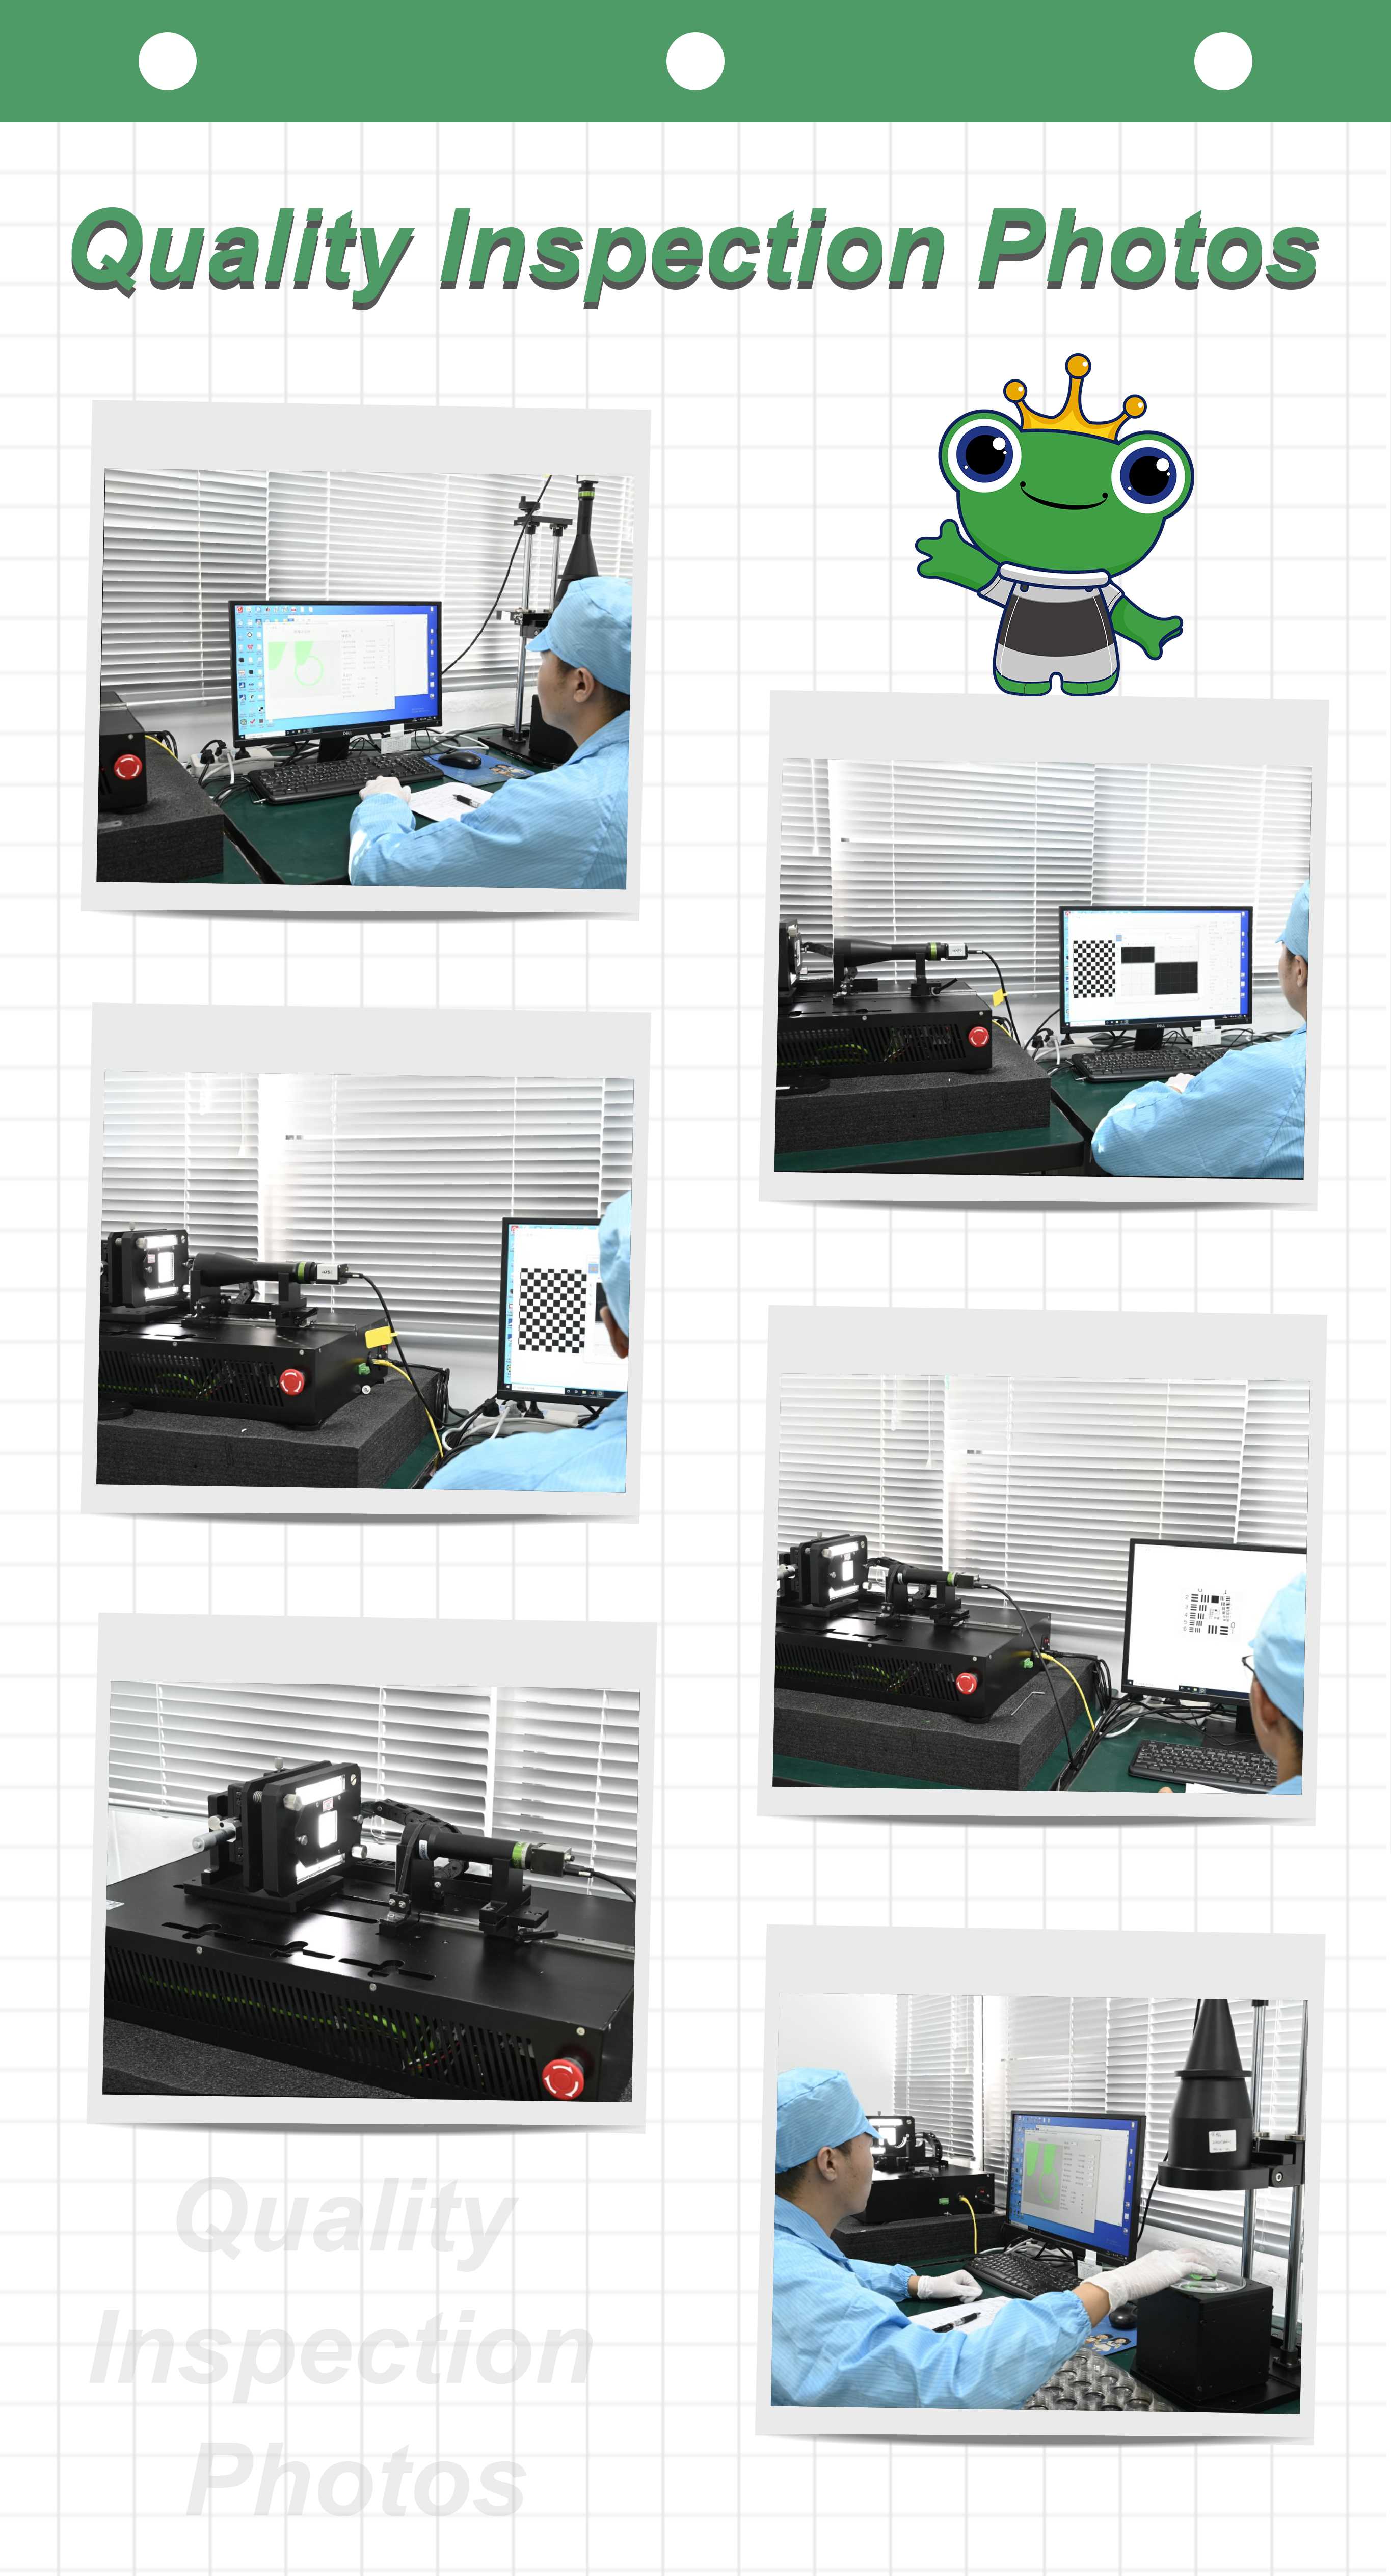
When combined with the Basson Telecentric Light Source, this lens system achieves even higher measurement accuracy. This effectiveness is evident when inspecting standard components, such as parts with an inner diameter of 10mm. Regardless of how many times the part is measured or where it is placed within the field of view, the measurement error consistently remains within 10 microns. This remarkable performance underscores the effectiveness of the Basson Bi-Telecentric Lens and Telecentric Light Source in providing reliable measurement solutions.
In conclusion, achieving an efficient telecentric light source system is crucial for the precise inspection of small-sized screw threads and other intricate components. The combination of the Basson 5x Telecentric Lens and the Basson Telecentric Light Source offers a powerful solution that addresses the challenges posed by reflective surfaces and intricate geometries. By minimizing distortion and effectively managing reflections, this optical system enhances measurement accuracy and overall inspection efficiency. As manufacturers strive for greater precision and quality, investing in advanced inspection technologies like Basson's Bi-Telecentric Lens and Telecentric Light Source will be critical for maintaining a competitive edge in a rapidly evolving market. This investment not only improves the reliability of measurement results but also fosters a culture of quality assurance in manufacturing processes, ultimately leading to higher standards and enhanced customer satisfaction.

Basson focuses on machine vision products used for precision measurement and defect detection.
Basson not only provides high-precision bi-telecentric lens systems, telecentric lens systems, telecentric light sources, coaxial illuminations and optical lenses, but also offers customized services.
With products designed in Germany, business planned in the UK and products made in China, Basson is able to provide superior products to customers through its global team. Currently, Basson is in preparation of production and assembly of products in Japan.
Dr. Liu Lu, acting as CTO of Basson, is a PhD degree holder of Oxford University.
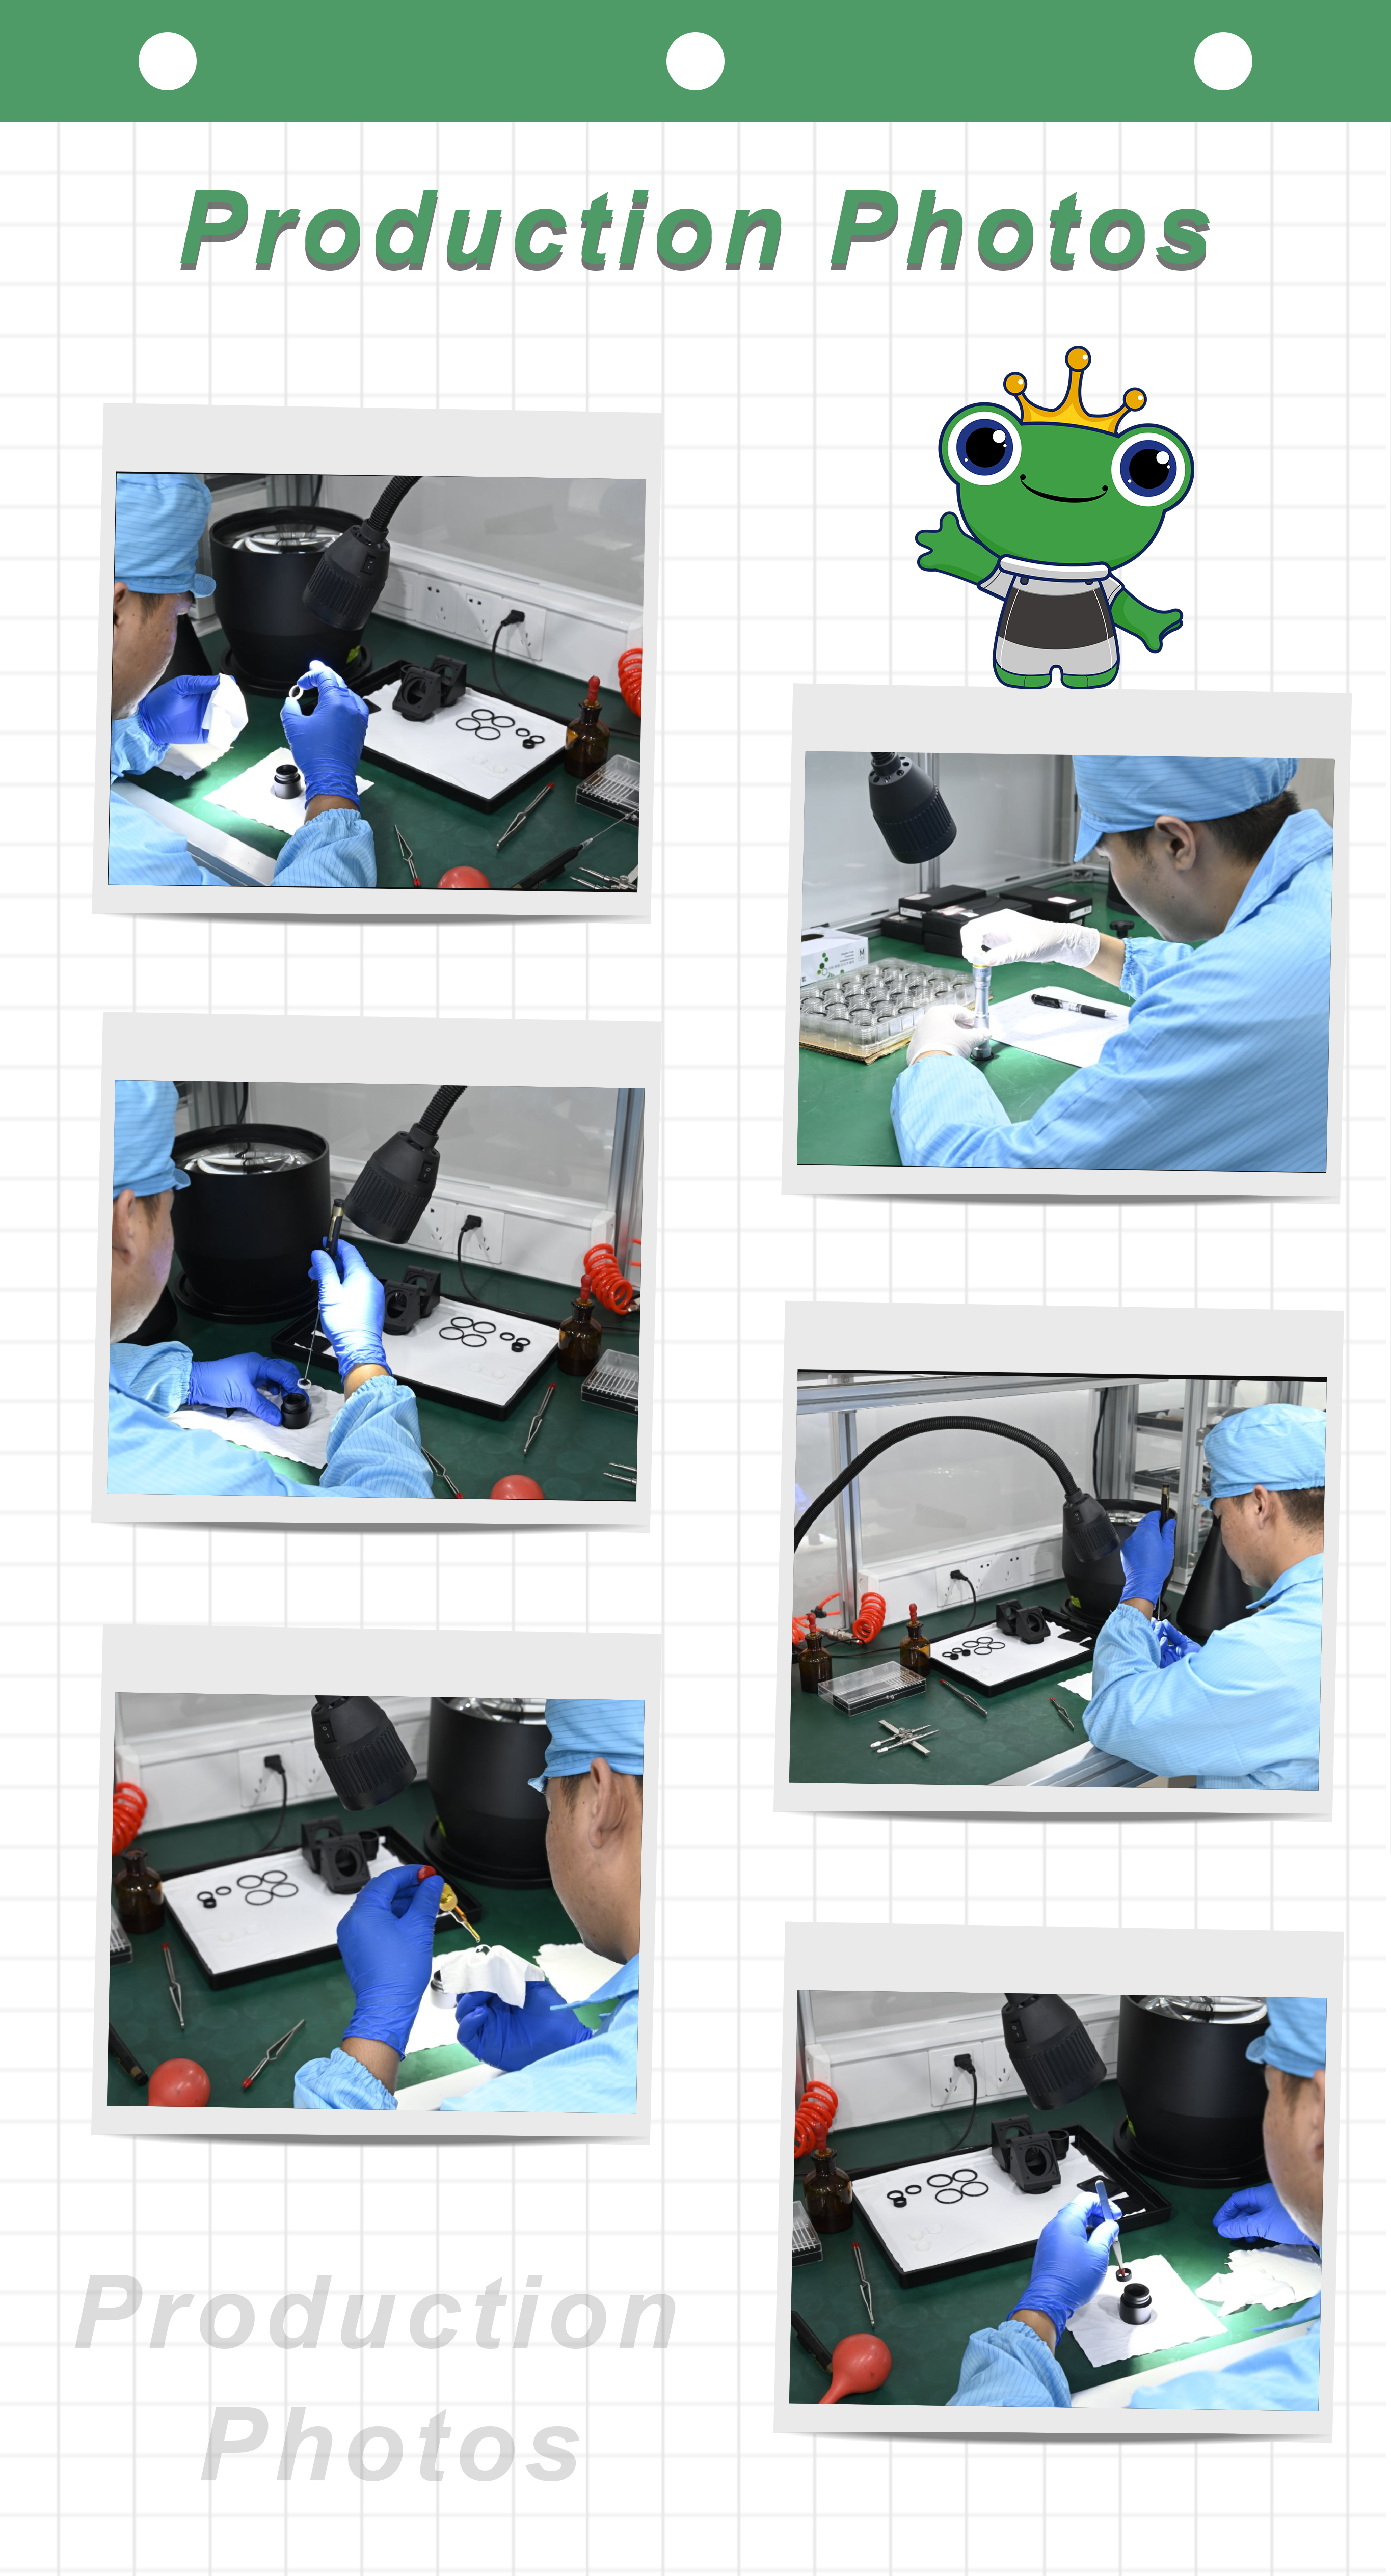
Production and testing instruments include optical vacuum coating machines manufactured by Satis in Switzerland and Leybold in Germany, a laser interferometer from Zygo in the US, a spectrophotometer from PerkinElmer in the US, a spherometer from Hofbauer Optik in Germany, a centering instrument from Kyoritsu Electric in Japan, a NC grinding device made by Kojima Engineering in Japan and an automatic centering machine made by Shonan in Japan.


Basson focuses on machine vision products used for
precision measurement and defect detection.
Basson not only provides high-precision bi-telecentric lens systems,
telecentric lens systems, telecentric light sources,
coaxial illuminations and optical lenses,
but also offers customized services.


