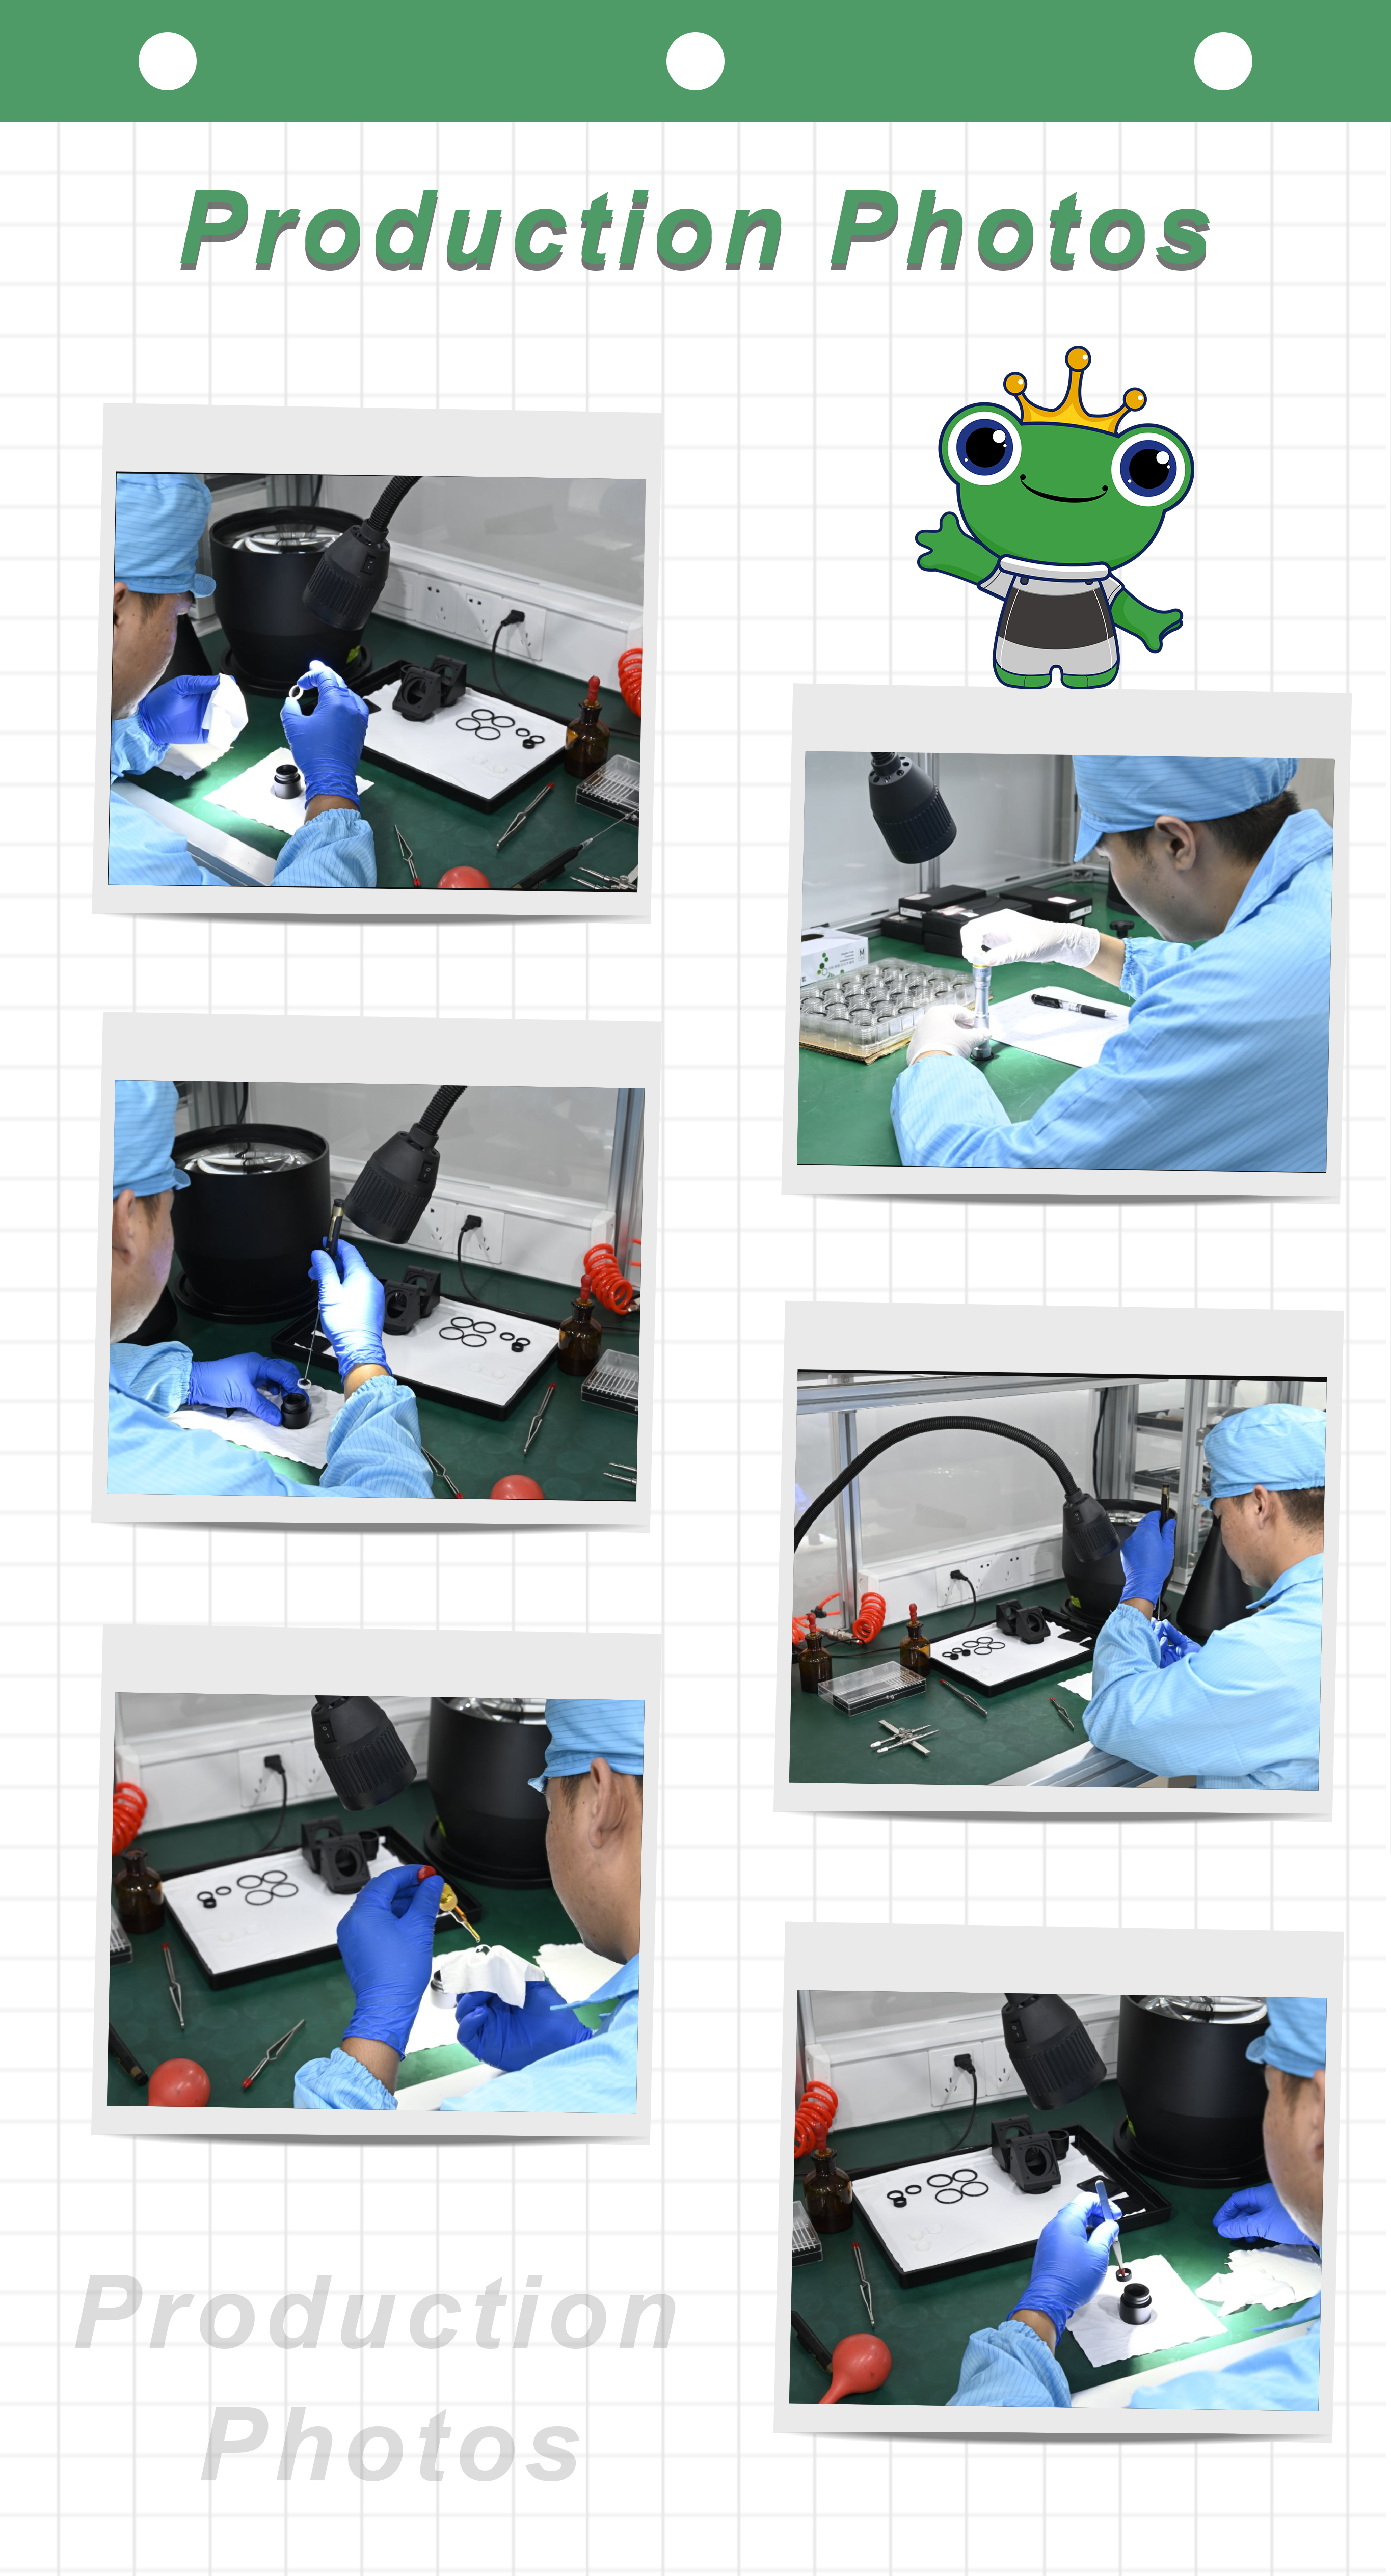
The Precision of Lens Centering: Ensuring Clarity in Optical Systems
In the world of optics, the alignment and precision of lens components are critical for achieving clear and distortion-free images. This importance is particularly pronounced in systems that utilize multiple glass lenses, such as telephoto or zoom lenses, where even the slightest misalignment can result in significant image degradation. The phenomenon of distortion or unclear imaging can often be traced back to a simple yet profound issue: the tilt of one or more lens elements. To mitigate these challenges, the process known as "centering" becomes indispensable. This meticulous technique not only addresses alignment issues but also plays a pivotal role in the overall performance of optical systems.
Centering a lens is a critical aspect of optical manufacturing, focused on achieving precise alignment between the lens surfaces and its optical axis. This process begins with the grinding of the lens's outer edge, which is meticulously shaped to meet specific installation dimensions. Achieving the correct alignment of the line that connects the centers of the lens surfaces to the central axis is essential. Any misalignment can lead to optical distortion; when the optical center of the lens does not coincide with the axis of rotation, light can travel through the lens in unintended paths. This skewing can produce various aberrations, such as blurriness or color fringing, ultimately diminishing the quality of the final image.
The preparation of edging joints is the first step in this meticulous process. These joints must be meticulously repaired to create a smooth surface that eliminates any wobbling during rotation. Wobbling can introduce inconsistencies in the grinding process, resulting in irregularities that could significantly affect optical performance. Once the edges are adequately prepared, operators proceed to take precise measurements of the lens. This includes defining both the outer diameter and the specific dimensions of each surface. Such measurements are crucial; they provide a blueprint for how the lens should be ground and aligned.
After these measurements are established, the next phase involves adjusting the spindle speed and the movement rate of the grinding wheel. These adjustments must be carefully tailored to the specific lens parameters. The spindle speed affects the rate of material removal and the smoothness of the lens surface, while the grinding wheel's movement must be calibrated to ensure that the lens maintains its intended shape without introducing further distortions. This calibration is critical, as any deviation from the required specifications can jeopardize the entire centering process, potentially leading to unacceptable optical quality.
As the grinding operation proceeds, continuous monitoring is essential. Operators must keep a close eye on the machinery and the lens itself to ensure that every aspect of the process remains within the established parameters. Periodic checks help verify that the alignment is on track, and any signs of deviation must be addressed immediately. The stakes are high; even minor inconsistencies can have a cascading effect, leading to significant optical performance issues that may be difficult or impossible to correct later in the process.
In addition to monitoring the physical adjustments, operators often employ sophisticated measurement tools to assess the lens's alignment and surface quality throughout the grinding process. These tools can provide real-time feedback, allowing for rapid adjustments to be made as needed. Such technology is integral to modern lens manufacturing, enabling a level of precision that was previously unattainable. Operators trained in both the mechanics of the equipment and the nuances of optical theory play a vital role in this stage, combining technical skill with an understanding of how light interacts with various lens shapes and materials.
As the final stages of centering are approached, attention to detail remains paramount. The grinding process may be followed by additional steps such as polishing, which further enhances the lens surface and reduces any residual imperfections that could affect light transmission. Each of these steps must be executed with precision, ensuring that the lens not only meets the desired specifications but also performs optimally in its intended application. This intricate interplay of preparation, adjustment, and monitoring underscores the complexity of lens centering, emphasizing the importance of craftsmanship in achieving superior optical results.
In optical manufacturing, centering is crucial for ensuring that lenses perform as intended, and two predominant methods are commonly employed: mechanical centering and transmission centering. Each of these techniques plays a significant role in achieving the precise alignment necessary for optimal optical performance, and the choice between them hinges on the specific characteristics of the lens being processed. Mechanical centering relies on the use of physical alignment tools, such as jigs or fixtures, which facilitate the accurate positioning of the lens in relation to its optical axis. This method is often favored for its straightforward approach, particularly in scenarios where the lens geometry is well understood and consistent. By employing precise measurement tools, operators can manually adjust the lens until it aligns perfectly, ensuring that the light passing through will follow the desired paths. This hands-on approach provides a tactile sense of the lens's positioning, allowing technicians to make real-time adjustments based on their observations and measurements.
On the other hand, transmission centering takes advantage of light itself to assess the alignment of the lens. This method involves shining a beam of light through the lens and observing how it interacts with the lens surfaces. By analyzing the transmitted light, operators can determine whether the optical center of the lens coincides with its intended axis. This technique is particularly beneficial for complex lens designs or when working with materials that may not lend themselves well to mechanical adjustments. Transmission centering allows for a more dynamic evaluation of the lens's performance, as it effectively provides immediate feedback on how well the lens is aligned during the centering process. The use of light as a diagnostic tool introduces an element of precision that can be particularly advantageous in high-performance optical systems, where even minor misalignments can lead to significant optical aberrations.
The choice between mechanical and transmission centering is often dictated by various factors, including the lens shape, the material used, and the desired optical specifications. For instance, larger or more complex lenses with intricate geometries might benefit from the nuanced evaluation provided by transmission centering, as this method allows for an assessment that is less dependent on physical fixtures, which may not account for every variation in shape. Conversely, simpler lenses or those that require high repeatability in production may be better suited for mechanical centering, where the reliance on established tools can enhance efficiency and consistency.
Moreover, each method has its own set of advantages that can affect the overall workflow of the lens manufacturing process. Mechanical centering, while often perceived as more labor-intensive, can foster a deeper understanding of the lens’s physical attributes through hands-on manipulation. This direct engagement can help technicians develop a more intuitive grasp of how changes in alignment can impact optical performance. In contrast, transmission centering often streamlines the alignment process, particularly in environments where speed is essential. The ability to rapidly assess alignment through light transmission can significantly reduce the time spent on adjustments, making it an appealing option for high-volume production settings.
Ultimately, the decision between mechanical and transmission centering is not merely a technical one but also reflects the broader goals of the optical design and manufacturing process. Whether opting for the tactile precision of mechanical methods or the immediate feedback offered by transmission techniques, the aim remains the same: to produce lenses that meet or exceed performance expectations, ensuring that the intricate interplay of light and optics functions harmoniously to deliver the highest quality outcomes in various applications. Each approach, therefore, contributes uniquely to the intricate dance of lens centering, underlining the importance of choosing the right method to achieve the desired optical precision.
Once the centering adjustments are completed, the edging operation begins, marking a crucial phase in lens manufacturing. This grinding process must be executed with the utmost precision to ensure that the lens conforms to its specified dimensions while avoiding any introduction of additional eccentricity. Achieving the correct shape and size during edging is essential, as even minor deviations can lead to significant optical distortions, undermining the lens's performance. Operators must carefully control the grinding parameters, such as pressure and speed, to maintain consistency and accuracy throughout the process.
Following the completion of the edging and centering processes, the lens undergoes thorough cleaning. This step is vital for removing any residual particles or debris that may have accumulated during grinding. Such contaminants can adversely affect the optical quality, leading to unwanted reflections or scatter that compromise the lens’s effectiveness. A meticulous cleaning routine, often employing ultrasonic baths or specialized solvents, ensures that the lens surfaces are pristine before moving on to the final evaluation stages.
Once cleaned, meticulous measurements are taken to assess both the processed dimensions and the degree of eccentricity. This stage is critical in confirming that the lens meets the stringent specifications necessary for high-quality optical performance. Advanced measurement tools, such as digital calipers and laser interferometers, are typically employed to provide precise readings, allowing technicians to detect even the slightest deviations from the desired standards. These checks are not merely procedural; they serve as a quality assurance measure that upholds the integrity of the entire optical system.
The culmination of these processes results in lenses that exhibit perfectly aligned outer diameters and optical paths, essential for their intended applications. This alignment is not simply a matter of aesthetics; it significantly impacts the lens's operational efficacy and inspection precision within any optical system. Lenses that have undergone such rigorous edging and centering processes emerge in a state of readiness, ensuring that they can perform optimally without the interference of distortions or misalignments. This careful attention to detail throughout the manufacturing process ultimately underpins the reliability and effectiveness of the lenses in their various applications.
In conclusion, the significance of lens centering in optical manufacturing cannot be overstated. It is a foundational process that underpins the clarity and accuracy of images produced by complex lens assemblies. Through the intricate steps of repair, measurement, adjustment, and processing, centering ensures that light travels through the lens precisely as intended. As technology advances and the demand for high-quality optical systems continues to grow, the importance of mastering such techniques will remain paramount in the pursuit of optical excellence. The journey of a lens from raw material to a finely tuned optical element is a testament to the dedication and expertise required in the field of optics, where precision is not just a goal, but a necessity.

Basson focuses on machine vision products used for precision measurement and defect detection.
Basson not only provides high-precision bi-telecentric lens systems, telecentric lens systems, telecentric light sources, coaxial illuminations and optical lenses, but also offers customized services.
With products designed in Germany, business planned in the UK and products made in China, Basson is able to provide superior products to customers through its global team. Currently, Basson is in preparation of production and assembly of products in Japan.
Dr. Liu Lu, acting as CTO of Basson, is a PhD degree holder of Oxford University.
Production and testing instruments include optical vacuum coating machines manufactured by Satis in Switzerland and Leybold in Germany, a laser interferometer from Zygo in the US, a spectrophotometer from PerkinElmer in the US, a spherometer from Hofbauer Optik in Germany, a centering instrument from Kyoritsu Electric in Japan, a NC grinding device made by Kojima Engineering in Japan and an automatic centering machine made by Shonan in Japan.


Basson focuses on machine vision products used for
precision measurement and defect detection.
Basson not only provides high-precision bi-telecentric lens systems,
telecentric lens systems, telecentric light sources,
coaxial illuminations and optical lenses,
but also offers customized services.


