Visual Precision in Industrial Measurement
In the field of industrial inspection, visual precision is paramount. Whether you are measuring small components or inspecting microelectronic parts, ensuring the accuracy of the measurement system is of utmost importance for product quality and performance. Visual precision refers to the ability to obtain measurements with an extremely high degree of accuracy, where the precision is determined by how well the system can translate a physical object’s size into a digital image. It is a critical factor in many fields such as electronics, automotive manufacturing, and medical device production.
Visual precision is the ability to measure small features on an object with a high degree of accuracy, using digital imaging systems. This is essential in many industries, especially when dealing with components that are in the range of millimeters or even micrometers. For example, in the measurement of small parts like screws, which typically have dimensions in the range of 1-2mm, the required precision can be as small as 1-2 micrometers (μm).
Visual precision depends on several key factors, including the camera resolution, the magnification of the lens, and the quality of the lighting used during the inspection. All of these components work together to produce a clear, sharp image of the object, allowing for accurate measurement.
A pixel is the smallest unit of an image, representing a specific area on the object being captured. The precision of a measurement system can be heavily influenced by the size of these pixels and the camera sensor. Understanding how pixels translate to physical size on an object is crucial to achieving the necessary precision for small-scale measurements.
In a digital imaging system, each pixel corresponds to a specific physical distance on the object. This is often referred to as the pixel resolution or spatial resolution. For example, if a camera sensor has a pixel size of 3.45μm, each pixel represents a physical space of 3.45μm on the object. When measuring small objects like screws that are 1-2mm in size, the pixel size determines how finely the system can resolve the details of the object.
To achieve high precision, the camera must have a small pixel size, allowing it to capture fine details. However, pixel size alone is not enough. The overall system, including the lens and lighting, must be calibrated to ensure that the image is sharp and clear enough to allow for accurate measurement.
The field of view (FOV) refers to the portion of the object that can be captured by the camera at any given time. A larger FOV is useful when inspecting large objects, while a smaller FOV is required for measuring small components in high detail. The FOV is closely related to the magnification of the lens. As the magnification increases, the FOV becomes smaller, but the object is represented in greater detail.
In high-precision applications, small variations in the object’s size can have a significant impact on the measurement result. When measuring components such as screws, which can have dimensions as small as 1-2mm, even a small measurement error of a few micrometers can lead to inaccurate results. The challenge is to design a system that can magnify the object while maintaining high image quality and accuracy.
To achieve the precision required in industrial measurements, a telecentric lens is often the best choice. Telecentric lenses have a unique design that allows light to enter the lens at a constant angle, regardless of the position of the object within the focal plane. This is in contrast to conventional lenses, which exhibit perspective distortion, making objects appear larger or smaller depending on their distance from the lens.
Telecentricity refers to the alignment of light rays in an optical system. In a telecentric lens, the light rays are parallel to the optical axis, which ensures that objects remain at the same size regardless of their position in the field of view. This reduces the distortion that can occur in traditional lenses, where objects at the edge of the image appear distorted or out of focus.
Telecentric lenses are especially useful in high-precision measurement applications because they provide a consistent magnification across the entire field of view. This makes them ideal for inspecting small components, where even slight changes in magnification can result in measurement errors.
When it comes to achieving the level of precision required for small-scale measurements, the Basson 5x telecentric lens is an ideal solution. This lens is specifically designed to provide high-quality, sharp images of small components, allowing for accurate measurement even at high magnifications.
The Basson 5x telecentric lens offers several key features that make it particularly well-suited for high-precision measurement applications:
1. High Transmittance: The lens is designed to allow more light to pass through, which ensures that the resulting image is bright and clear. This is essential in low-light environments where accurate measurements are still required.
2. High Uniformity: The lens provides uniform lighting across the entire field of view, reducing the chances of shadows or highlights that could interfere with measurement accuracy.
3. Low Telecentricity: With a telecentricity of less than 0.05°, the Basson 5x lens minimizes any distortions that might occur in the image, ensuring that the object is captured accurately at all magnifications.
4. Low Distortion Rate: The lens has an exceptionally low distortion rate, which means that the edges of the object being measured remain sharp and well-defined, even at high magnification.
To accurately measure small objects, such as screws or microelectronic components, the Basson 5x telecentric lens provides the necessary combination of high magnification, clarity, and precision. By ensuring that the image remains sharp, even at high magnifications, this lens allows for accurate measurement down to the micrometer level.
Basson’s 5x telecentric lens is ideal for a variety of industrial applications, particularly those involving small, intricate components. Some of the industries where this lens is commonly used include:
1. Electronics Manufacturing: In the production of microchips, connectors, and other small components, accurate measurement is crucial to ensure the proper functioning of the final product.
2. Automotive Industry: In automotive manufacturing, high-precision measurements are needed for parts like gears, bearings, and other critical components.
3. Medical Devices: In the production of medical instruments and devices, even the smallest measurement error can lead to failures. The Basson 5x lens ensures that these components are measured accurately.
4. Precision Engineering: In precision engineering, where parts are often very small and require high levels of accuracy, the Basson 5x lens is the perfect tool for visual inspection.
Whether it’s measuring screws with micron-level precision or inspecting microelectronic components with sub-micrometer accuracy, the Basson 5x telecentric lens provides the optical clarity needed to make these measurements possible.
When designing a system for high-precision visual inspection, the lens plays a central role in determining the overall performance of the system. While many factors—such as camera resolution, pixel size, and lighting—are essential, the quality of the lens often makes the biggest difference in achieving the required accuracy.
In general, a telecentric lens is a top choice for industries that require accurate measurements with no distortion. It is particularly useful when inspecting small objects at high magnifications, as it maintains consistent image size across the entire field of view. The Basson 5x telecentric lens is specifically engineered to minimize distortion, provide high-quality imaging, and ensure the sharpness and clarity of even the finest details.
The field of visual inspection is continuously evolving as new technologies and optical systems are developed. With the increasing demand for more accurate and reliable measurements, the role of high-performance lenses like the Basson 5x telecentric lens becomes even more critical. As industrial systems become more sophisticated, the need for lenses that can provide accurate measurements will continue to grow.
Telecentric lenses, in particular, are expected to play an increasingly important role in the future of visual precision, as industries continue to push for smaller, more complex components that require incredibly fine levels of measurement. Advances in telecentric lens technology will likely focus on improving transmittance, magnification, and resolution, while minimizing distortion and chromatic aberrations.
The Basson 5x telecentric lens stands out as an optimal choice for industries requiring high-precision measurements, offering exceptional clarity, low distortion, and high uniformity. Its ability to produce sharp, accurate images of small components—whether screws, microelectronics, or medical devices—ensures that manufacturers can meet the tight tolerances demanded by today’s advanced industries.
For any industry that relies on visual inspection for quality control, product development, or defect detection, the Basson 5x telecentric lens offers a highly effective solution that enhances accuracy, efficiency, and reliability. By addressing the core challenges of achieving visual precision, the Basson lens plays a crucial role in optimizing measurement systems and ensuring the highest standards of quality and performance.
As we continue to embrace automation, machine learning, and advanced imaging technologies in industrial inspection, the demand for higher accuracy and more reliable measurement systems will only increase. The Basson 5x telecentric lens represents a crucial advancement in meeting these demands. With Basson’s telecentric technology, you can ensure that your products meet the most stringent quality control requirements.

Basson focuses on machine vision products used for precision measurement and defect detection.
Basson not only provides high-precision bi-telecentric lens systems, telecentric lens systems, telecentric light sources, coaxial illuminations and optical lenses, but also offers customized services.
With products designed in Germany, business planned in the UK and products made in China, Basson is able to provide superior products to customers through its global team. Currently, Basson is in preparation of production and assembly of products in Japan.
Dr. Liu Lu, acting as CTO of Basson, is a PhD degree holder of Oxford University.
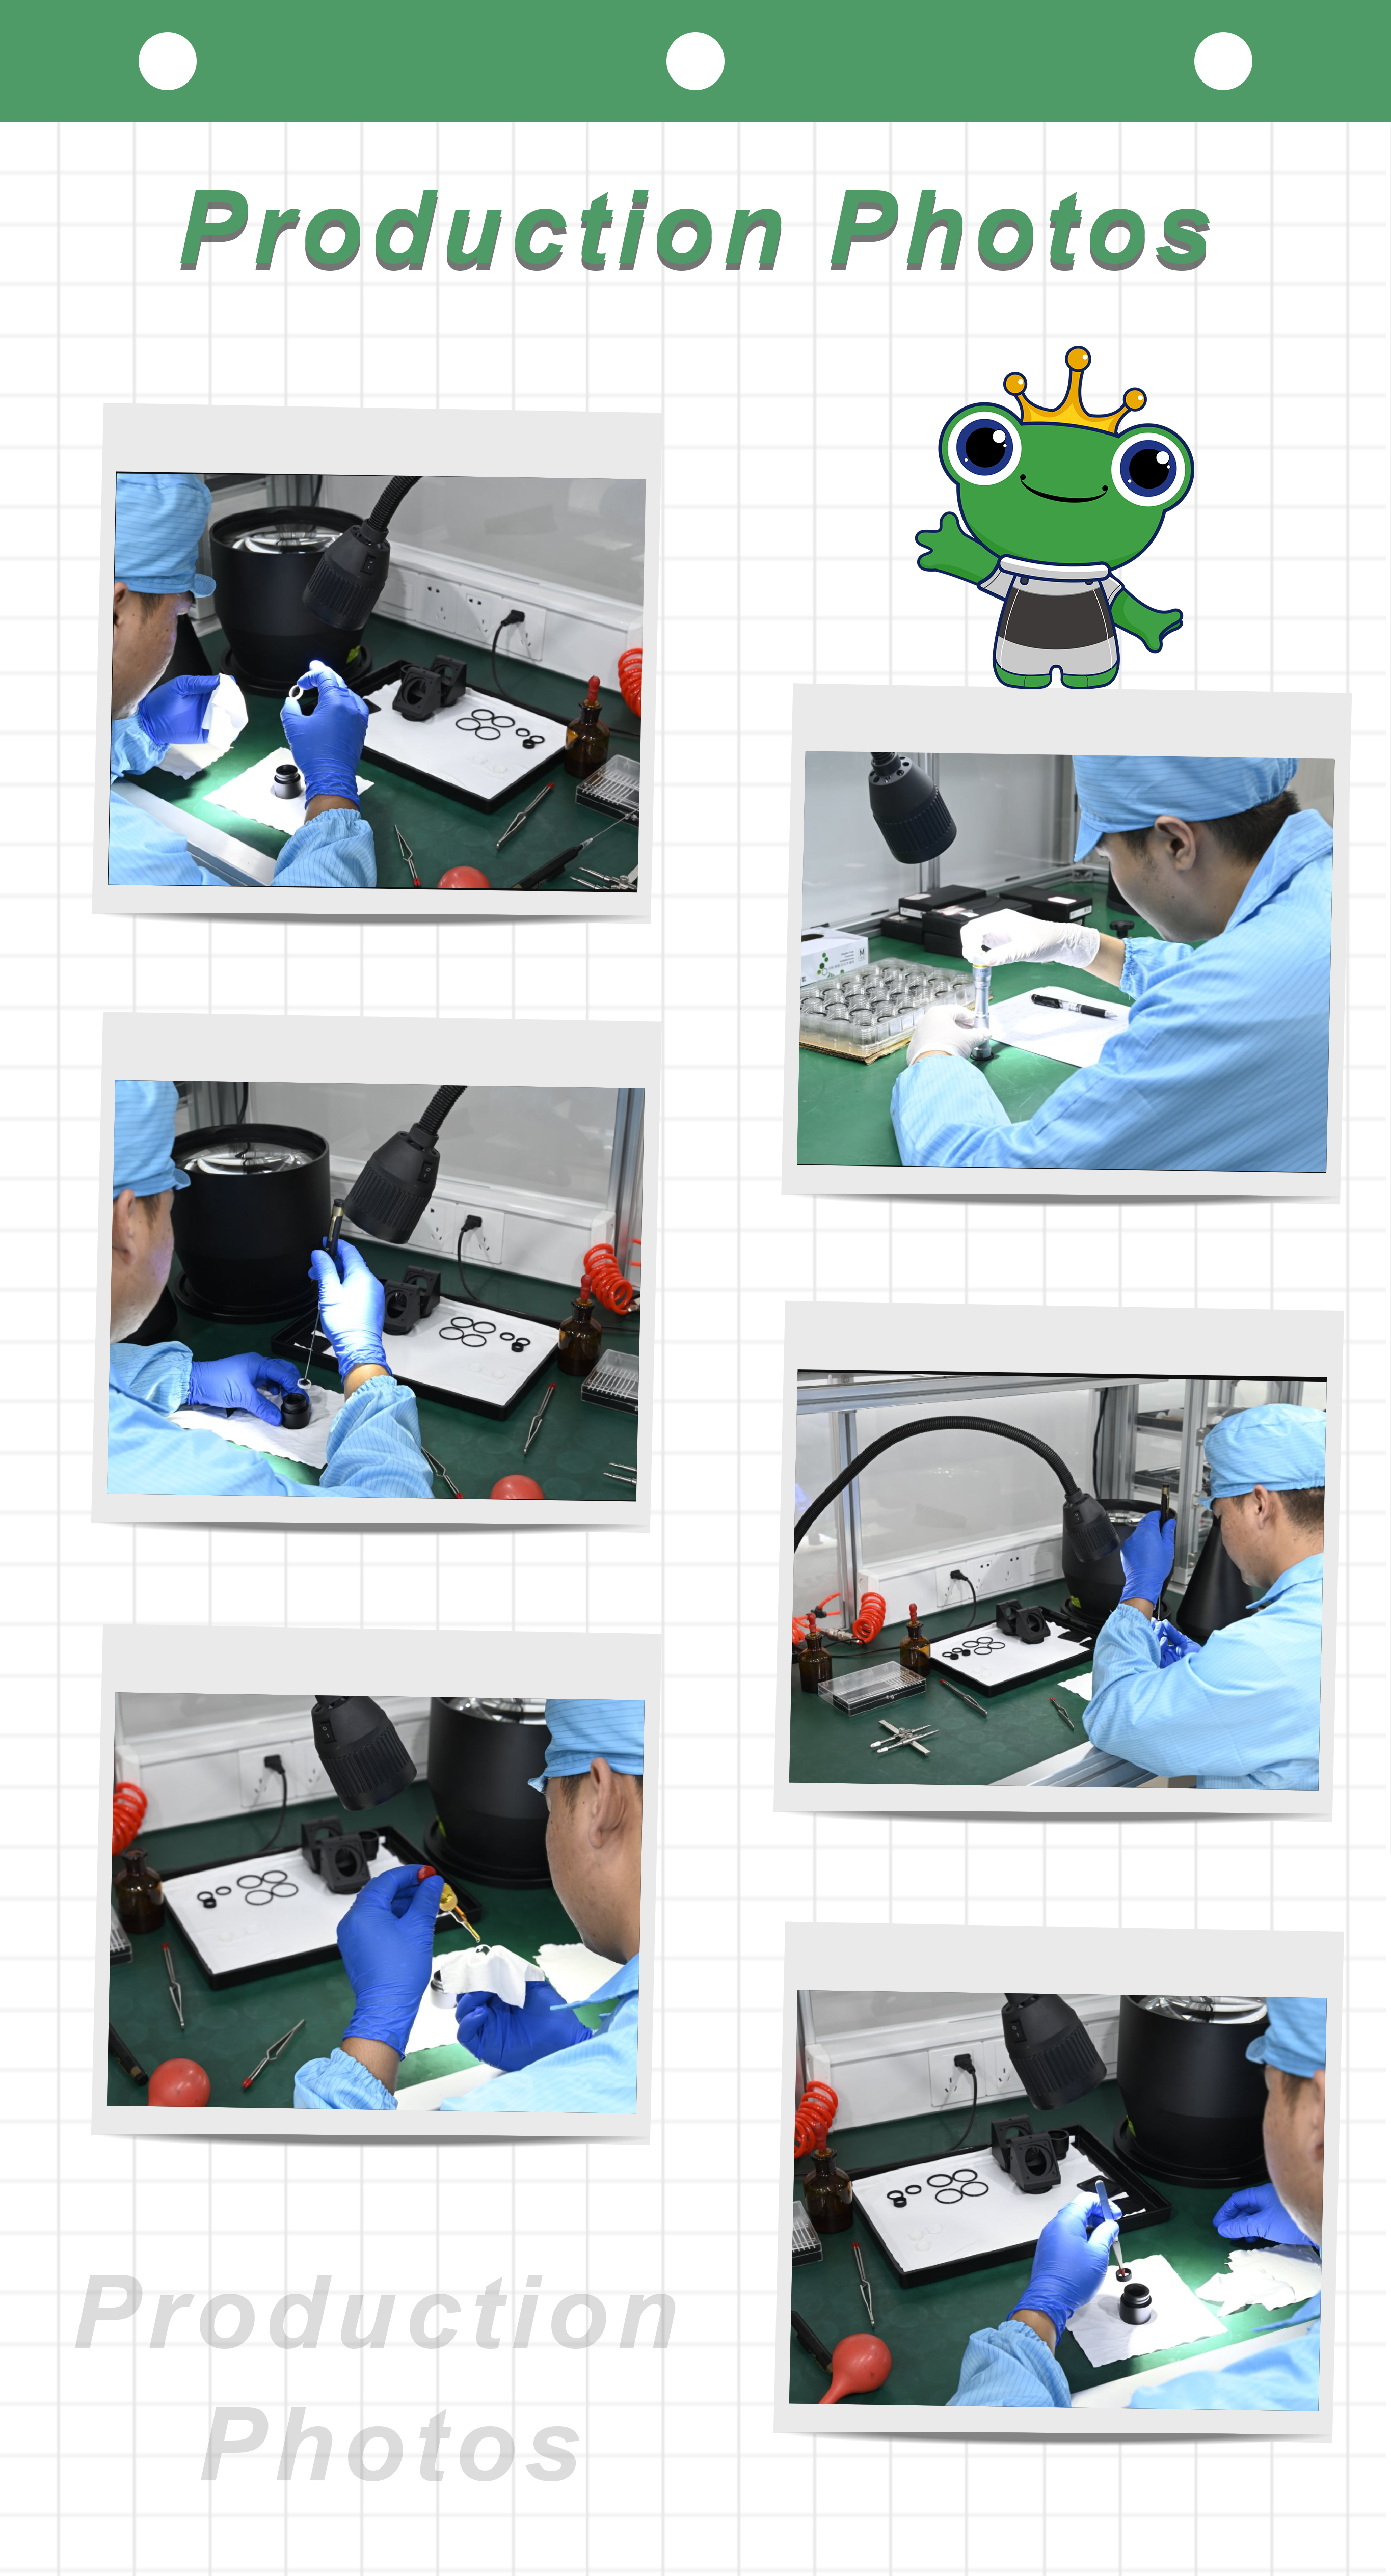
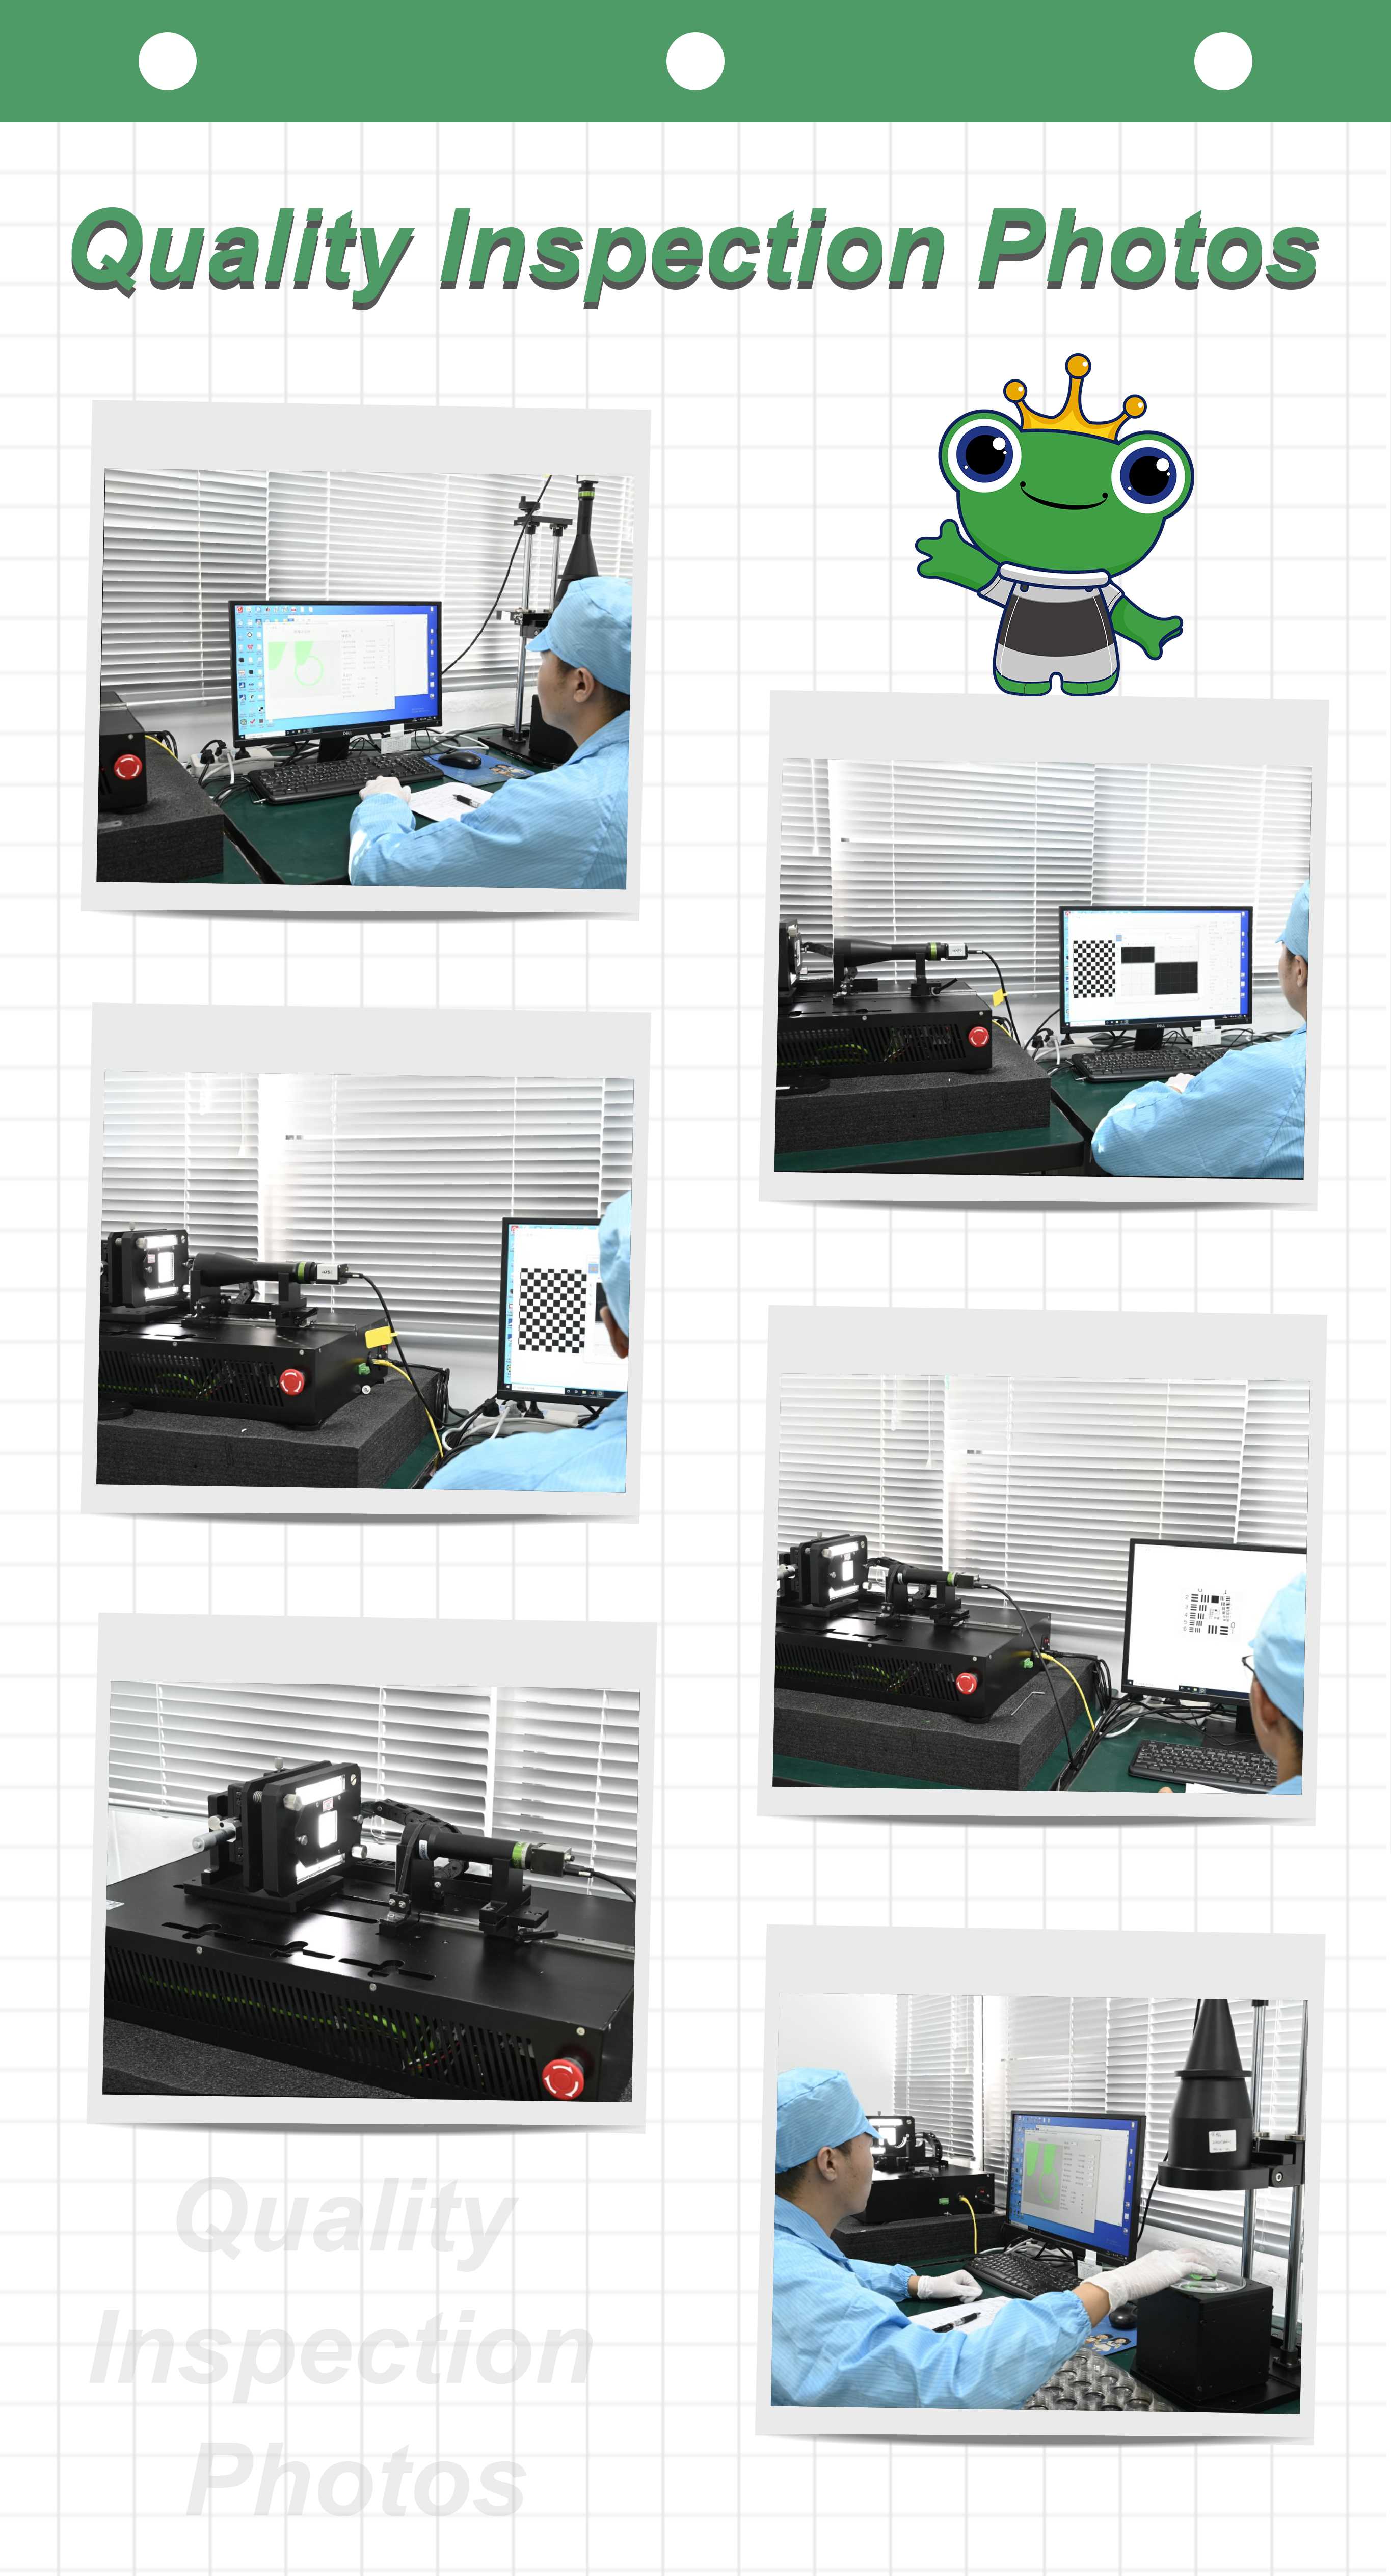
Production and testing instruments include optical vacuum coating machines manufactured by Satis in Switzerland and Leybold in Germany, a laser interferometer from Zygo in the US, a spectrophotometer from PerkinElmer in the US, a spherometer from Hofbauer Optik in Germany, a centering instrument from Kyoritsu Electric in Japan, a NC grinding device made by Kojima Engineering in Japan and an automatic centering machine made by Shonan in Japan.


Basson focuses on machine vision products used for
precision measurement and defect detection.
Basson not only provides high-precision bi-telecentric lens systems,
telecentric lens systems, telecentric light sources,
coaxial illuminations and optical lenses,
but also offers customized services.


